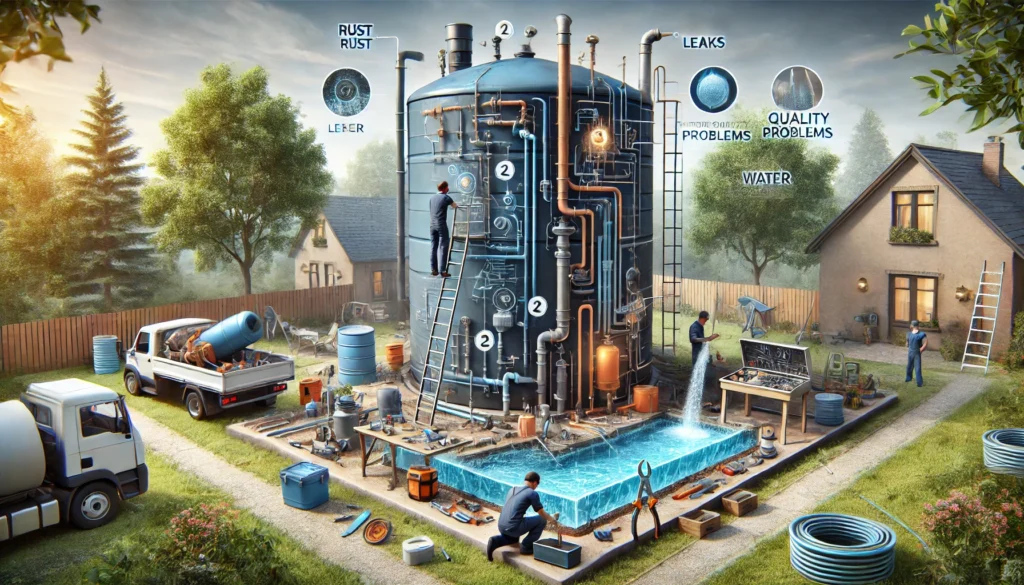
Water tanks, whether used for storing potable water or non-potable water, can encounter a variety of issues over time. Identifying and fixing these common problems early can help ensure the longevity of the tank and maintain water quality. Here are some common water tank problems and how to fix them:
1. Leaks
- Cause: Leaks can occur due to cracks, corrosion, poor sealant, or damage to the tank walls, joints, or connections.
- How to Fix:
- Identify the Source: Inspect the tank thoroughly to locate the exact source of the leak.
- Patch or Repair: For small cracks or holes, use a waterproof sealant or epoxy to patch the leak. For metal tanks, welding may be necessary.
- Replace Seals: If the leak is at a joint or connection, replace gaskets, seals, or damaged pipes.
- Larger Repairs: For larger or structural cracks in concrete or steel tanks, professional repair or replacement of tank sections may be needed.
2. Corrosion (Metal Tanks)
- Cause: Over time, metal tanks can corrode due to water exposure, especially if the water contains chemicals, salts, or minerals.
- How to Fix:
- Inspect for Rust: Regularly check the tank for signs of rust or corrosion.
- Sand and Repaint: For surface rust, sand the affected area down to bare metal, apply a rust inhibitor, and repaint with a corrosion-resistant coating (e.g., epoxy).
- Cathodic Protection: Install a cathodic protection system (such as sacrificial anodes) to prevent future corrosion.
- Replace Severely Corroded Sections: If the corrosion is extensive, consider replacing sections of the tank or lining it with a corrosion-resistant material like FRP (fiberglass reinforced plastic).
3. Algae Growth (Plastic or Translucent Tanks)
- Cause: Algae growth can occur in water tanks, especially plastic or translucent tanks, if they are exposed to sunlight.
- How to Fix:
- Block Light: Prevent sunlight from entering the tank by painting the outside of the tank a dark color or using UV-resistant tank covers.
- Regular Cleaning: Clean the tank periodically with a mild bleach solution (chlorine) or other algaecides safe for water storage. Ensure all traces of the cleaning solution are rinsed out before refilling.
- Use UV Filters: Consider installing a UV filter in your water system to prevent algae and other biological growth.
4. Sediment Build-Up
- Cause: Over time, particles and debris can accumulate at the bottom of the tank, reducing water capacity and clogging outlets.
- How to Fix:
- Tank Flushing: Periodically drain and flush the tank to remove sediment. Use a hose or pump to wash out debris from the tank’s bottom.
- Install a Sediment Filter: Add a sediment filter to the inlet pipe to prevent debris from entering the tank in the first place.
- Regular Inspection: Conduct regular inspections to ensure sediment build-up is not excessive and remove it before it becomes a problem.
5. Foul Odors
- Cause: Foul odors in water tanks can be caused by bacteria, algae, or decaying organic matter.
- How to Fix:
- Disinfection: Disinfect the tank using a bleach solution (sodium hypochlorite) or chlorine tablets. Ensure that the solution is circulated throughout the tank and then drained before refilling with clean water.
- Regular Cleaning: Clean the tank regularly to prevent organic material from decaying and causing odors.
- Ventilation: Install vents or filters to allow gases to escape, particularly in sealed tanks.
6. Cracks (Concrete Tanks)
- Cause: Cracks in concrete tanks can occur due to structural stress, settlement, or temperature changes.
- How to Fix:
- Patch Small Cracks: Use a waterproof concrete patch or epoxy filler to seal small cracks. Make sure the area is clean and dry before applying the patch.
- Apply a Waterproof Liner: Consider applying an internal waterproof liner to prevent leaks and reinforce the integrity of the tank.
- Structural Repair: For large or structural cracks, professional repair may be necessary, which could involve rebar reinforcement or reapplying concrete to damaged sections.
7. Pressure Issues
- Cause: Pressure issues, such as low water pressure or airlocks, can arise from clogged pipes, improper tank venting, or pump failures.
- How to Fix:
- Check the Pipes: Inspect the pipes for clogs, kinks, or damage. Clear any blockages and replace damaged pipes.
- Check the Pump: If the tank uses a pump, ensure it is functioning correctly and that the pressure settings are appropriate. Replace or repair faulty pumps.
- Vent the Tank: Make sure the tank is properly vented to allow air to escape. If airlocks are the issue, bleeding the air from the system may help.
8. Overflows
- Cause: Overflows can occur if the tank fills beyond its capacity due to malfunctioning float valves or faulty inlet control systems.
- How to Fix:
- Inspect and Repair Float Valve: Check the float valve or ball valve for damage or malfunction. Adjust or replace the valve to ensure it shuts off the water supply when the tank reaches capacity.
- Install Overflow Pipes: Ensure that the tank has an overflow pipe that directs excess water away from the tank, preventing water damage or flooding.
9. Freezing (In Cold Climates)
- Cause: In cold climates, water in tanks can freeze, especially in above-ground tanks that are not properly insulated.
- How to Fix:
- Insulate the Tank: Install insulation around the tank and pipes to protect them from freezing temperatures.
- Use Heating Elements: Install electric heating elements or heaters designed for water tanks to maintain water temperature in freezing conditions.
- Keep Water Moving: If possible, keep the water circulating to prevent it from freezing in one place.
10. Loose or Faulty Connections
- Cause: Over time, connections between pipes, valves, and the tank can become loose or damaged, leading to leaks or water loss.
- How to Fix:
- Inspect Connections: Regularly inspect all connections, valves, and seals for signs of wear or damage.
- Tighten or Replace: Tighten any loose fittings or replace damaged seals, gaskets, or valves as needed to prevent leaks.
11. Pest Intrusion
- Cause: Insects, rodents, or birds may enter the tank if it is not properly sealed, leading to contamination.
- How to Fix:
- Install Mesh Screens: Use fine mesh screens on vents and inlets to prevent pests from entering the tank.
- Seal Cracks and Gaps: Check for any gaps or openings in the tank and seal them to prevent pests from entering.
- Regular Cleaning: Clean the tank regularly to remove any organic matter that might attract pests.
Summary of Common Fixes:
- Regular Inspections: Frequently inspect the tank for early signs of wear and tear, such as leaks, corrosion, or cracks.
- Scheduled Cleaning: Establish a routine cleaning schedule to prevent algae, sediment build-up, and foul odors.
- Preventive Maintenance: Ensure that all components, such as pipes, valves, float systems, and vents, are functioning correctly and replace any faulty parts.
- Sealing and Insulation: Protect the tank from environmental factors like sunlight (to prevent algae) or cold (to prevent freezing) with proper sealing and insulation.
By staying on top of these common issues, you can extend the life of your water tank, improve water quality, and avoid costly repairs down the road.